When I started this blog, I had a feeling that making changes to this bike would take longer than anticipated. The past two weeks of work have exemplified how a person with little knowledge and no experience can greatly underestimate the amount of time that is required to learn and perform simple customization tasks. It has taken me hours of work over a period of weeks to accomplish what a professional can do in a matter of hours. On the bright side, at least I'm learning how it is done and I have the safety net of a professional looking over my shoulder the whole time.
It has been a while since my last entry. I spent two weekends in Australia and then a week back in St. Louis without a computer, and then another week working out some technical issues. So now I have a lot of progress to cover in this entry.
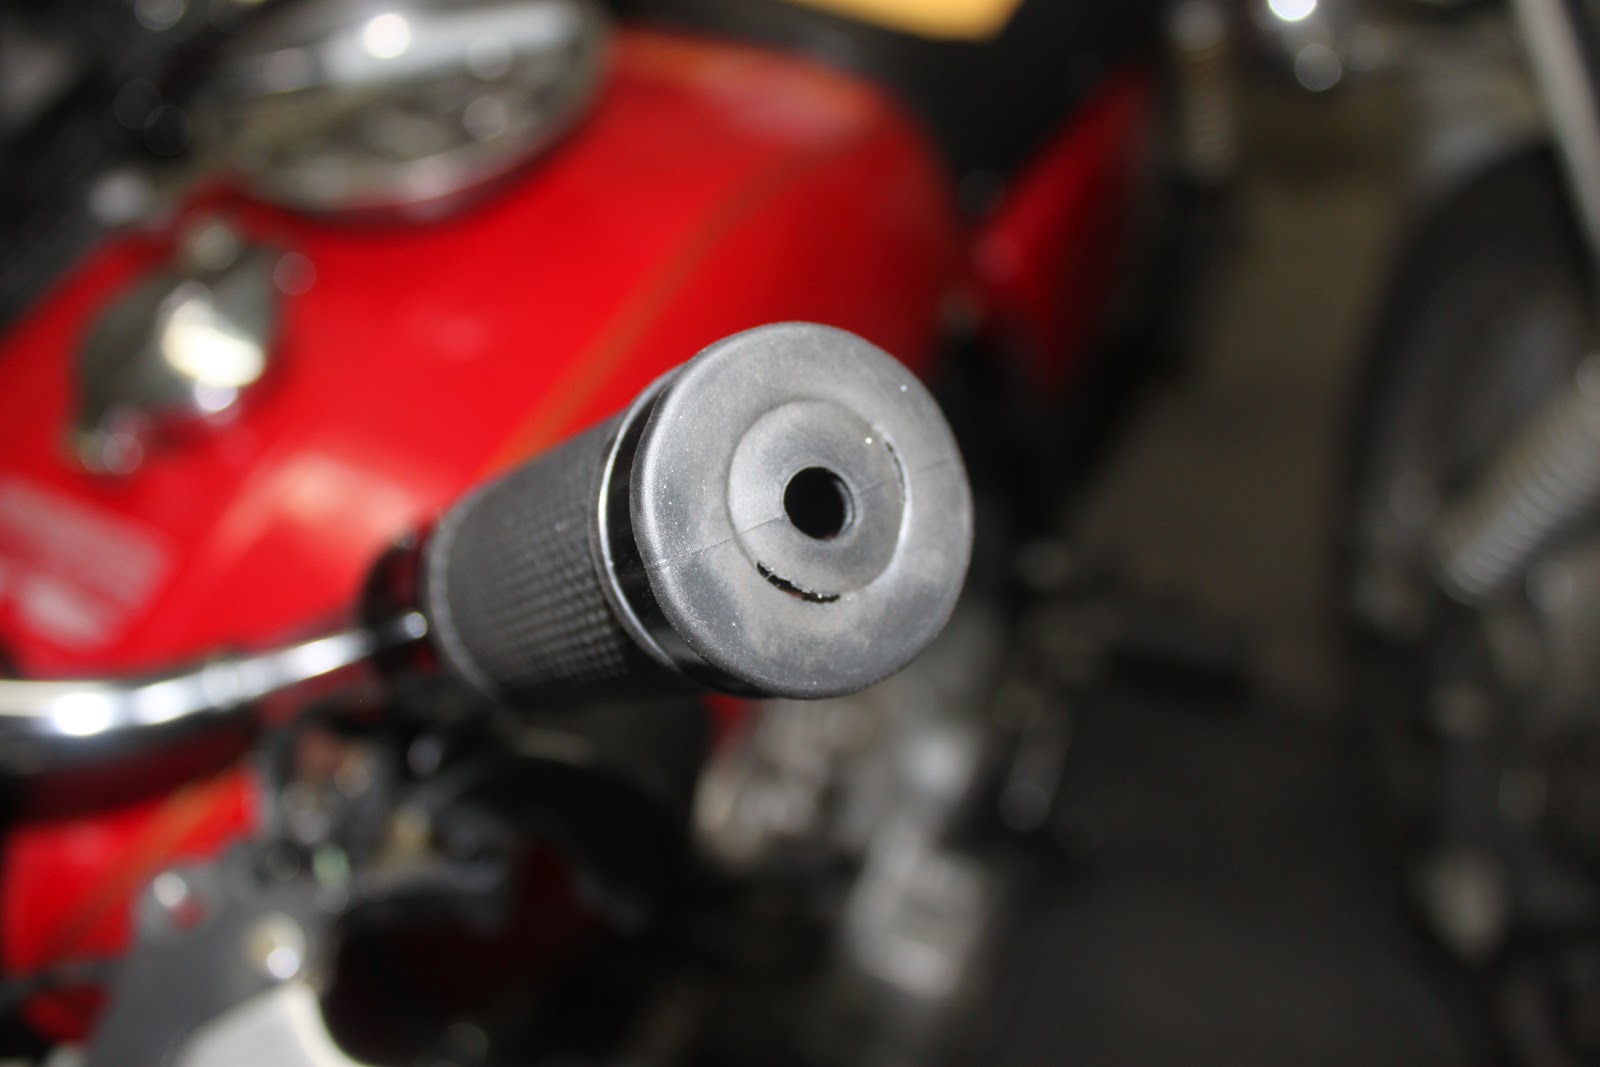
Firstly, I ordered the new grips and mirrors and they arrived before I left for Australia. I decided to go with bar-end mirrors which stick out from the ends of the grips in order to give the bike a more streamlined appearance.
Of course with new grips and mirrors going on, that meant that the old mirrors and grips had to come off. Taking off the old mirrors was pretty simple. They are just screwed into the break and clutch levers.
Getting the old grip off of the throttle was pretty simple too because there was no need to save the old grip. So I took a razor blade and carefully cut the old grip away from the throttle.
Upon removing the old grip from the throttle, we realized that the grips which were on the bike when I purchased it were probably not the stock grips. It looked like someone had changed the grips at some point and damaged the throttle in the process. Fortunately, the throttle was still in good enough condition to continue using it. Unfortunately, we also found another problem: the new grips were too short for the throttle.
So we cut the throttle down to size and I used the shop's wheel to smooth out any rough edges after making the cut.
Then came the incredibly long process of opening up the holes we had drilled to run the electrical wires through the handlebars. The holes needed to be bigger, but they need to be more of an oval shape with the oval running lengthwise along the bar. Shaping the holes required use of a Dremel Rotary Tool (I'm pretty sure that name is trademarked so I'm just going to go ahead and recognize that now).
I'll be honest - all of my past experience with a Dremel Rotary Tool has been watching ads for it on TV. The ads do a very good job of making it seem extremely easy and quick to use the tool, but it actually takes a little bit of practice. I had 4 holes that had to be reshaped, and they took hours to get right. And then I had to check them against the bike, and grind some more, and then check again, and drill some more, and check again, and grind some more.
It was during this process that I came to a calming realization: when this bike is done it will not look perfect. It will look very good, and I think the imperfections will be difficult to notice, but there will be imperfections, if for no other reason than the fact that I must have scratched the chrome on the handlebars 5 times while reshaping those holes. While I want the bike to look good, I think I will also cherish the imperfections. I will cherish them because I put them there, and I put them there because I did the work. Every imperfection will be a reminder of what I learned and the obstacles which were overcome to complete the project. And that individualized imperfection has a value that goes beyond sterile perfection.
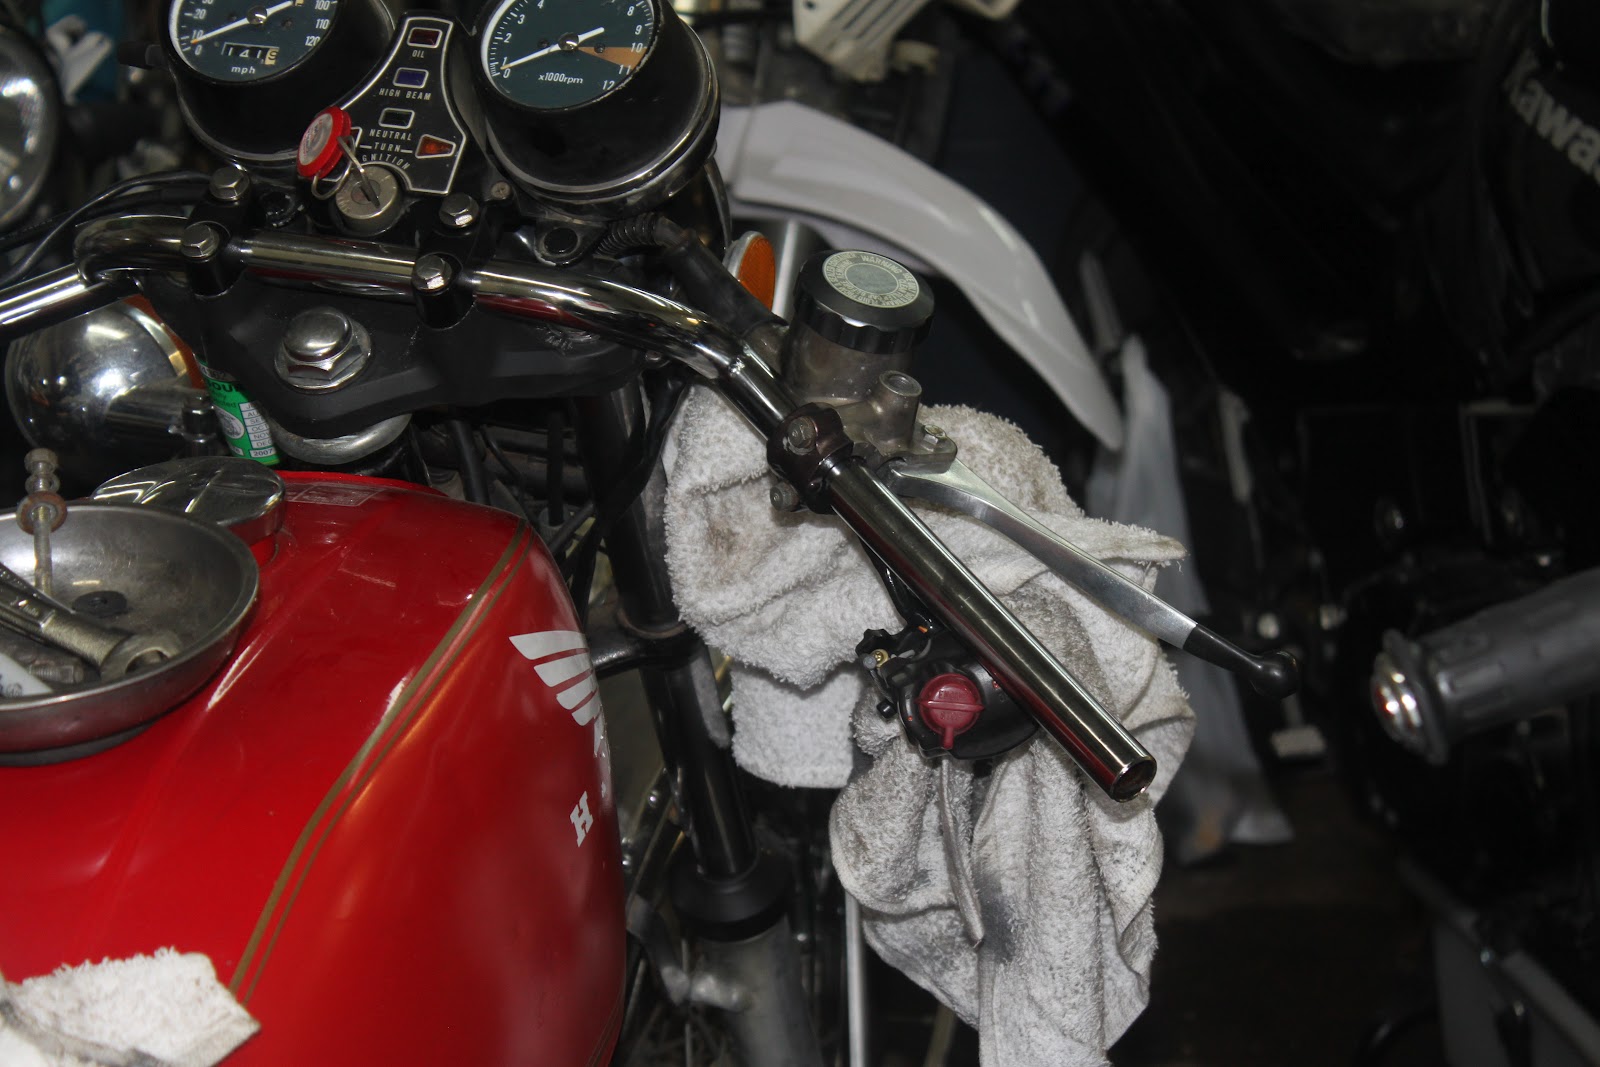
After the holes in the handlebars were complete it was time to run the electrical wires through the handlebars from the hand controls back to the triple tree. There are several wires coming from each hand control, so they need to be wrapped with a stiff wire and taped together.
You then spray some lubricant into the interior of the handlebar and thread the stiff wire as a guide for the others. Then you work the wires through the handlebar until the hand controls are in place.
After running the wires through both ends of the handlebars I was able to mount them back onto the bike.
The next step in the handlebar process is to rebuild the hand controls. This will be relatively simple on the left side. It should just be a matter of putting the clamp back on the handlebar and attaching the new grip and mirror. The right side presents more of a challenge. If there is anything I have learned through this process it is that if you think you're changing one little thing on a motorcycle you're actually making a whole bunch of changes of varying difficulty. Such is the case with the right side of the handlebars. The right lever controls the front break and the line for the break comes up through the triple tree. That line has to run differently in order to attach to the new handlebars, but that is a story for another week.
Rebuilding the hand controls was just beyond my expertise level and I was running low on time, so I put that project aside for later. Instead I decided to go after some of the surface rust on the chrome parts of the bike. I knew that steel wool would help, but I had no idea that it would work magic. The tailpipe offers a good illustration. Here is how it looked before I touched it.
Here is after I had done a little bit of work.
By the time I was done I done it looked like this.
So I also did the front fender, front rim and front forks and they all look much better. I'll finish a few other portions of the bike later.
That is all I was able to get done since my last posting but there is plenty to do next week. I'll update as the progress continues.